About Mylar & Adhesive Camo Stencils
Adhesive
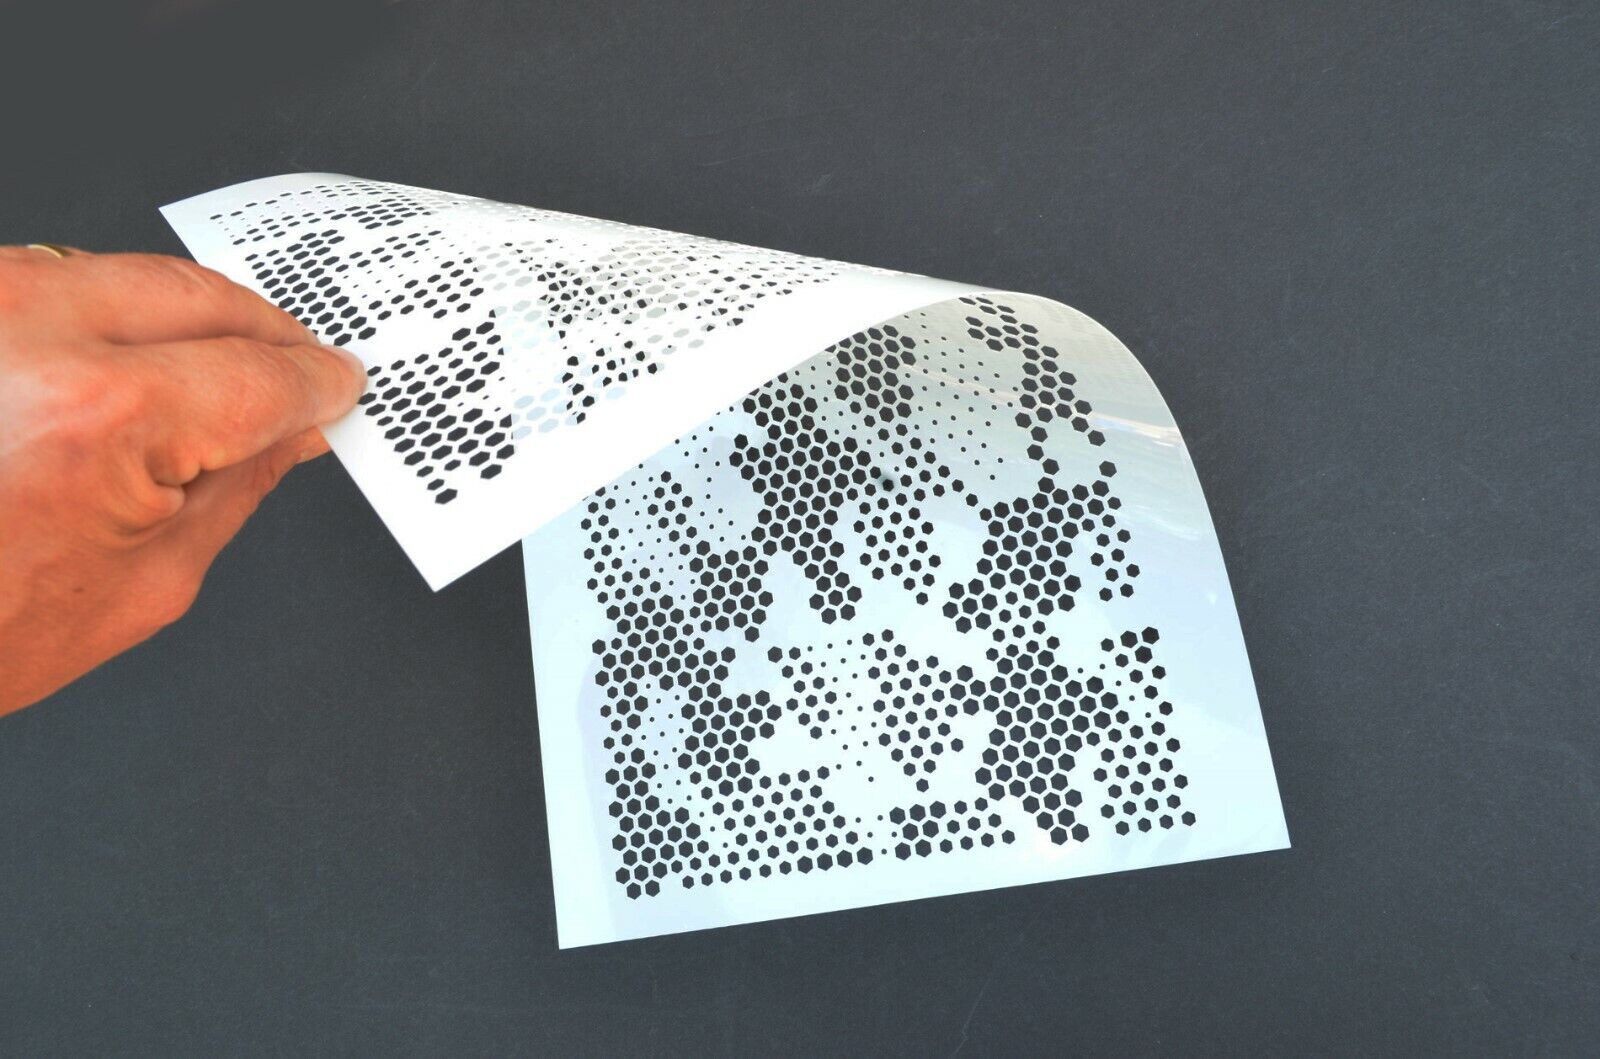
Adhesive stencils are basically specialized stickers that you apply to your project. Then paint the project and peel the stickers off. The Camouflage pattern of the stickers will be left behind.
These types of stencils are good for smaller projects like guns, RC Trucks & Planes, models, etc..
Types of Stencils
Mylar & Adhesive Camo Stencils
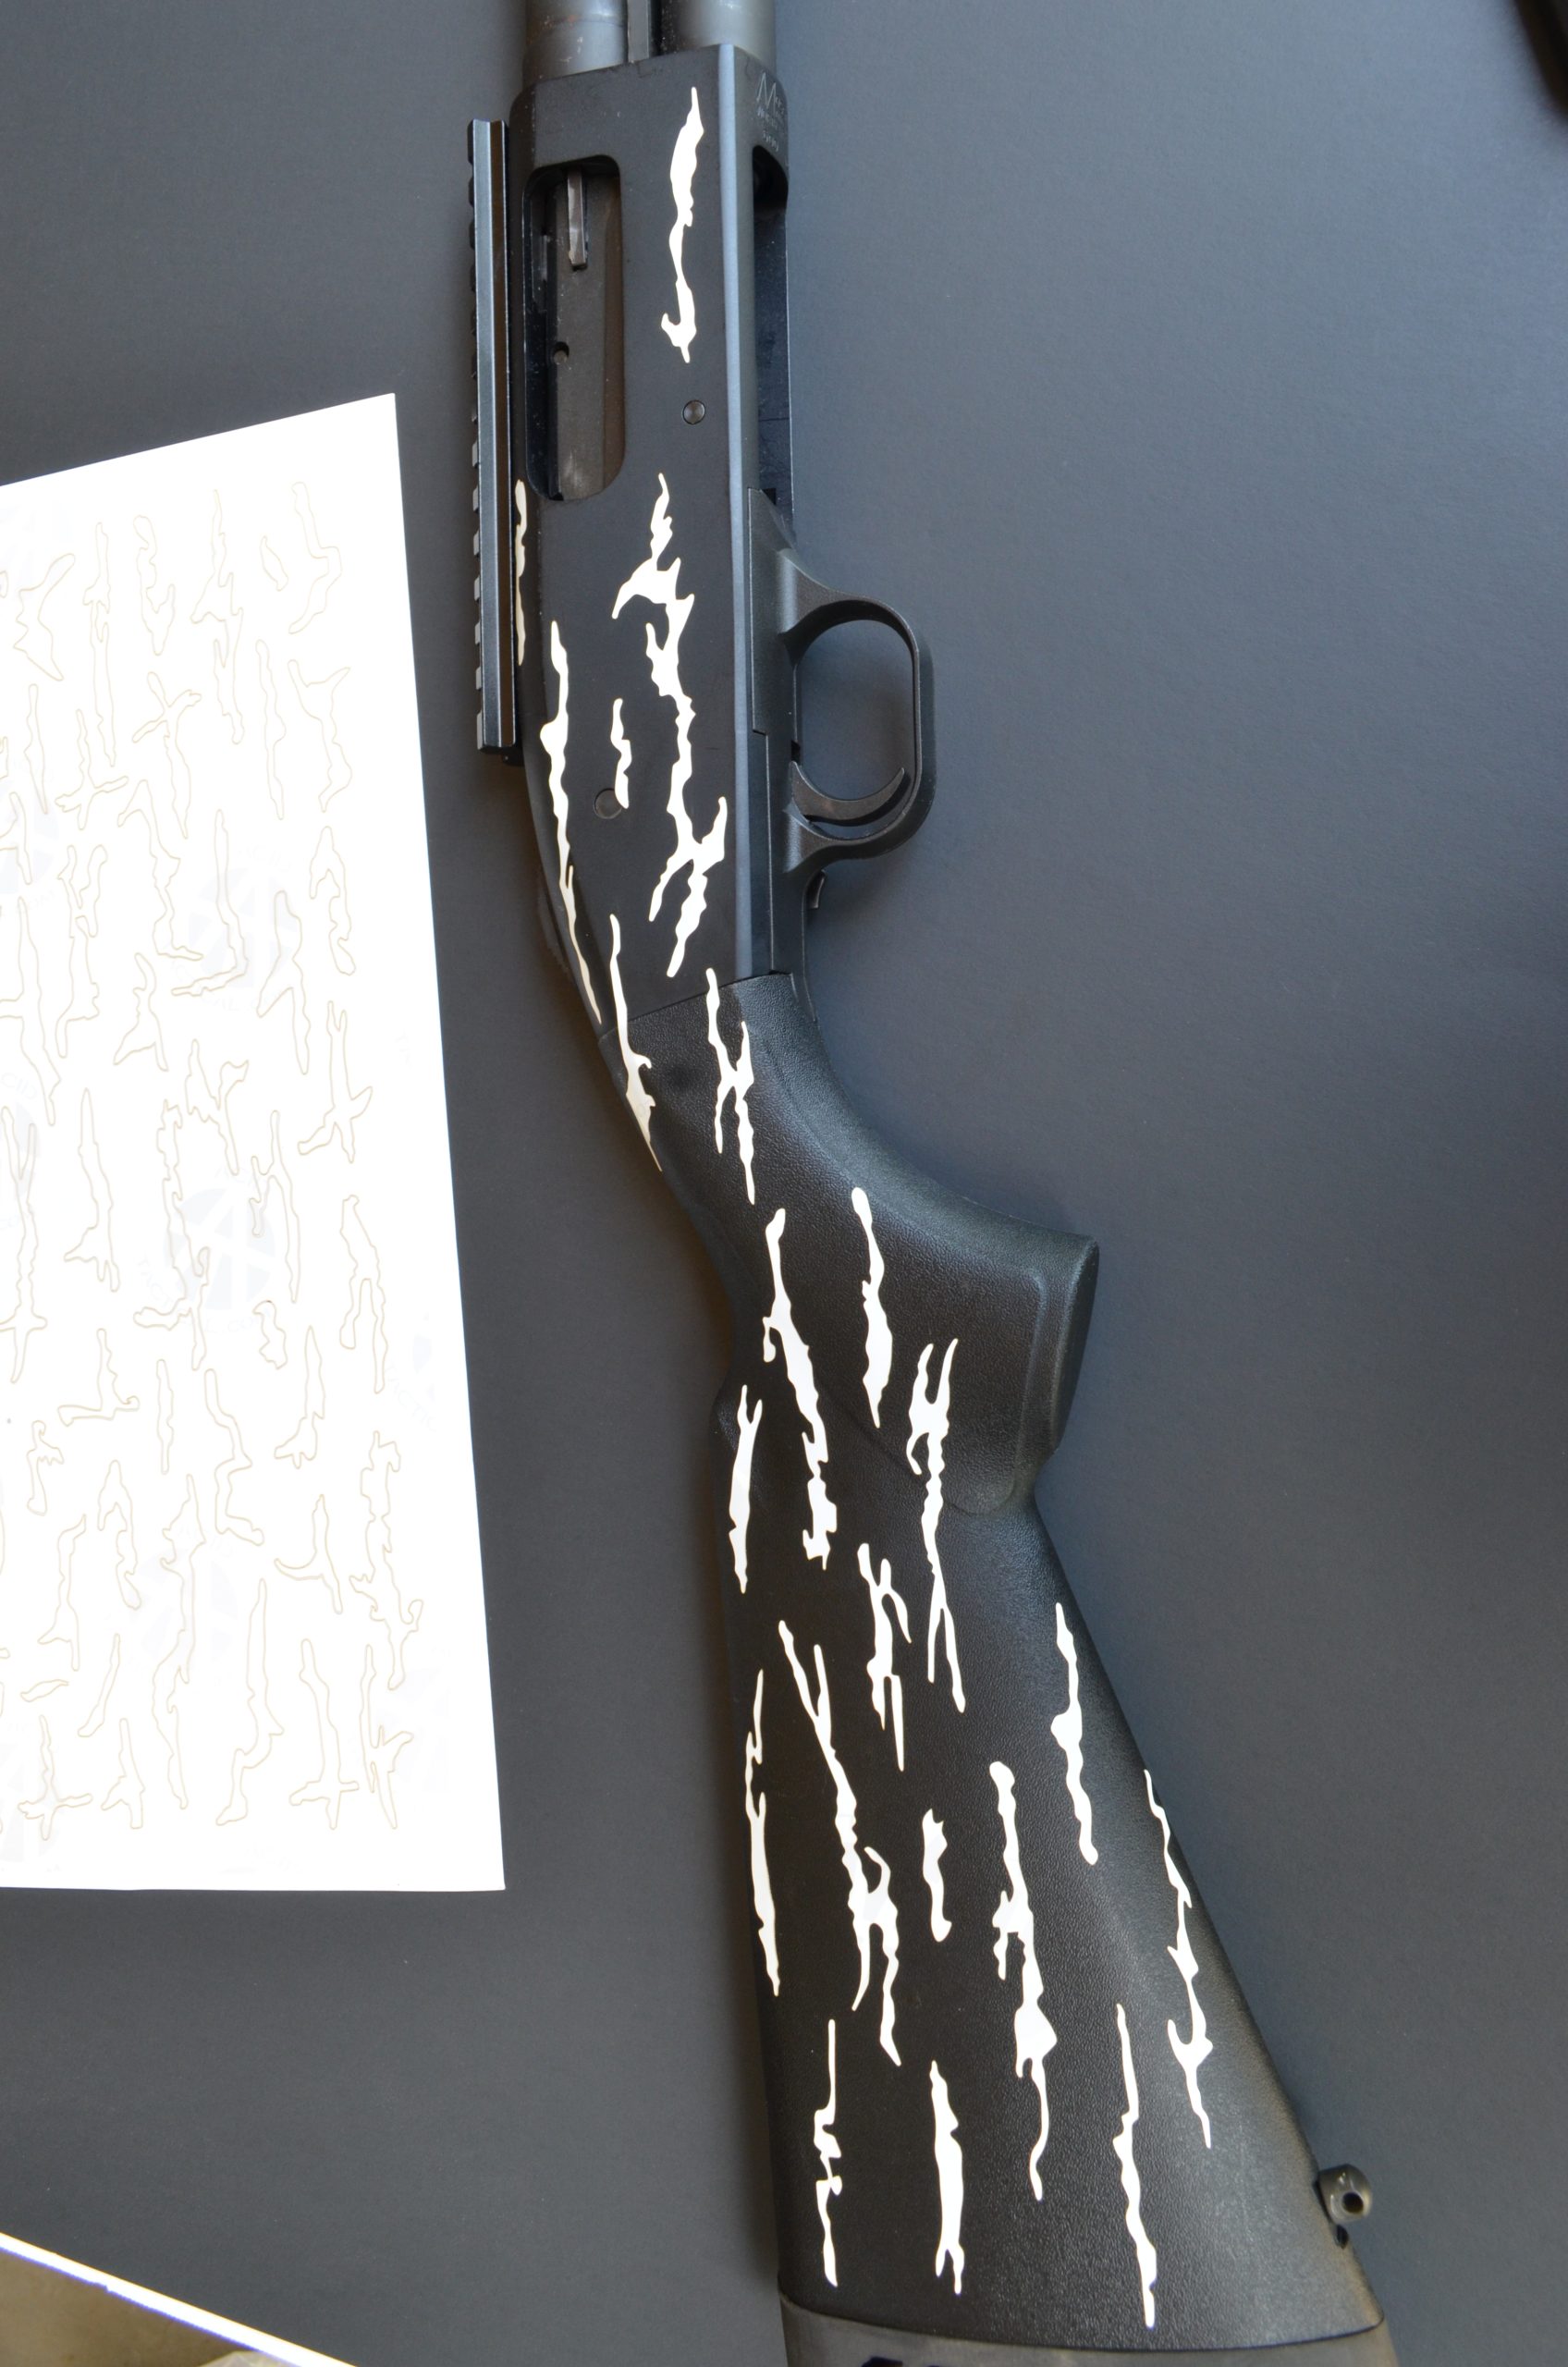
Although we say that certain types of stencils are for a certain type of job, you can use a combination of both. The video below uses a combination of mylar and adhesive stencils to create this patriotic look on a rifle.
The stars on the rifle were painted using a spray through mylar stencil and the tear patterns and skulls were adhesive stencils.
Both our Mylar & Adhesive Camo Stencils can be used together to create awesome patterns.
Mylar Stencils
Our mylar stencils are like your traditional spray through the holes in the stencil type. Although they are much thinner than the ones you might have used in elementary school due to the need for them to bend around objects.
This type of stencil is best used on larger projects such as duck boats, ATV's, golf carts, vehicles, etc..

Adhesive Stencil Tips
Adhesive stencils are trickier to work with but the following tips can help you make your project come out like artwork.
Helpful Tools:
- Masking Tape - helps to mask over parts of your project you don't want paint.
- X-Acto Knife - Helps to apply small delicate parts of the stickers onto your project.
- Scissors - sticker sheets can be cut to size before peeling off the parts you want to use.
- Heat gun or hair dryer- If the weather is cold you might consider using a heat gun or hair dryer to warm you project and the stencils before use. If the weather is cold the stencils will be more difficult to get them to stick correctly.
Other Tips on Adhesive Stencils:
- Your project must be clean of dust, oils, etc for the stickers to adhere correctly. Plastics contain oil and may be difficult to adhere to. Consider putting a paint base coat over the plastic before using stencils.
- Temperature can affect how adhesive stencils stick to your project. Usually warmer temperatures work better. If it is cold, the stencils will have a harder time adhering to your project. Consider a heat gun or hair dryer to warm up the project and/or the stencil sheet itself.
- Very angled projects with lots of corners will make it more difficult to apply stencils. Consider creasing the stickers to fit into corners and also using the back edge of an X-acto knife to crease stencils into corners.
- Using Cerakote paints, that have to be cured in an oven, is ok to use with our stencils. They will accept flash curing up to 250 degrees without shrinking or sticking permanently to your project.
- Use light coats of paint on your project. If you are too heavy on the paint you may end up with ridges at the edges of the stickers that will be noticeable when you remove them. It's best to apply many light coats rather than one thick coat of paint.
MOST IMPORTANT TIP
Practice using our stencils BEFORE using them on your project. You can do a terrific job using our stencils but you can also do a terrible one. Practice will help you avoid mistakes before you start on your project. We include at least one free sheet with every order just for this purpose. To practice with.
Mylar Stencil Tips
Mylar stencils are pretty straight forward to use but there are some things that can make your project easier.
Helpful Tools:
- Posterboard - to be used to make a frame for your stencils to avoid overspray lines. Click Here to see how to make a frame from posterboard.
- masking tape - to tape off parts of your project you don't want to paint. Also to secure your stencil to a posterboard frame or to hold the stencil on your project while painting. You can also use masking tape to cover parts of the stencils design that you don't want to use.
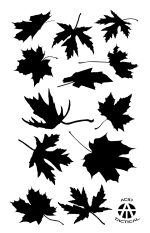
- scrap paper - you can use scrap paper to cover parts of your project you don't want to paint. You can also use it to cover parts of the stencils you don't want to use. For example, the stencil below you could cover all but one leaf with scrap paper and then paint one leaf at a time onto your project.
Stencil Cleaning Tips:
- You can use whatever cleaner or thinner your paint requires for removal.
- The best way to clean the stencil is to lay it on a flat surface and use a sponge or rag soaked in thinner and wipe the paint away.
Other Stenciling Tips
- Corners and angles can make stenciling difficult. Consider creasing the stencil to match angles.
- Pick up more stencils than you think you'll need. It's fine to buy one set but consider you will need to let them dry in between usage or you will get stray paint on your project.
- Have help. Some painting jobs will definitely go better with extra hands to keep stencils in place while painting.
- Keep the stencil as flat as possible on your project. If they aren't flat you will have overspray and the design will not be as sharp as it could be.
MOST IMPORT TIP
Practice on scrap wood, metal, or even a spare posterboard. It may look simple and easy to use stencils but that's not always the case. If you are expecting a great outcome, practice BEFORE working directly on your project. This applies to Mylar & Adhesive Camo Stencils.
Check out our Youtube Channel for Camo Painting Videos.